Adding mapping to your skillset is an obvious step for any drone pilot keen to move into commercial work.
On the face of it, the transition from creative aerial photos and videos to a more rigid routine of shots from above isn't a complex one. But there are plenty of finer points to mapping that you might not have considered yet.
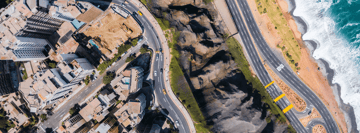
So what is mapping? Drones offer a fast, cheap and effective way for companies and organizations to get high-quality aerial data. Often this data is compiled to build maps - a view-from-above image created with numerous photos that have been taken and stitched together.
In construction, agriculture, real estate, surveying and more, drone mapping can provide the hard data required to make informed decisions and speed up workflows.
As a drone pilot, what are some of the key points you need to consider before taking the step into mapping?
Making the right preparations
There are plenty of foundations that need to be in place before you can start your first mapping mission. First of all, you'll need a drone with a good enough camera to capture the high-quality images that will make the map valuable.
There are plenty out there for reasonable prices that will do the job, from DJI's Phantom range to the Mavic Pro, Yuneec's H520, or models from Parrot and 3DR.
Next, you'll have to find a software package that works for you. Some of the obvious contenders include DroneDeploy, DataMapper and PIX4D. These solutions are made up of a smartphone app and a web-based platform. Generally, the app is where you will plan the flight. The platform is where all of that aerial data is crunched into something useful.
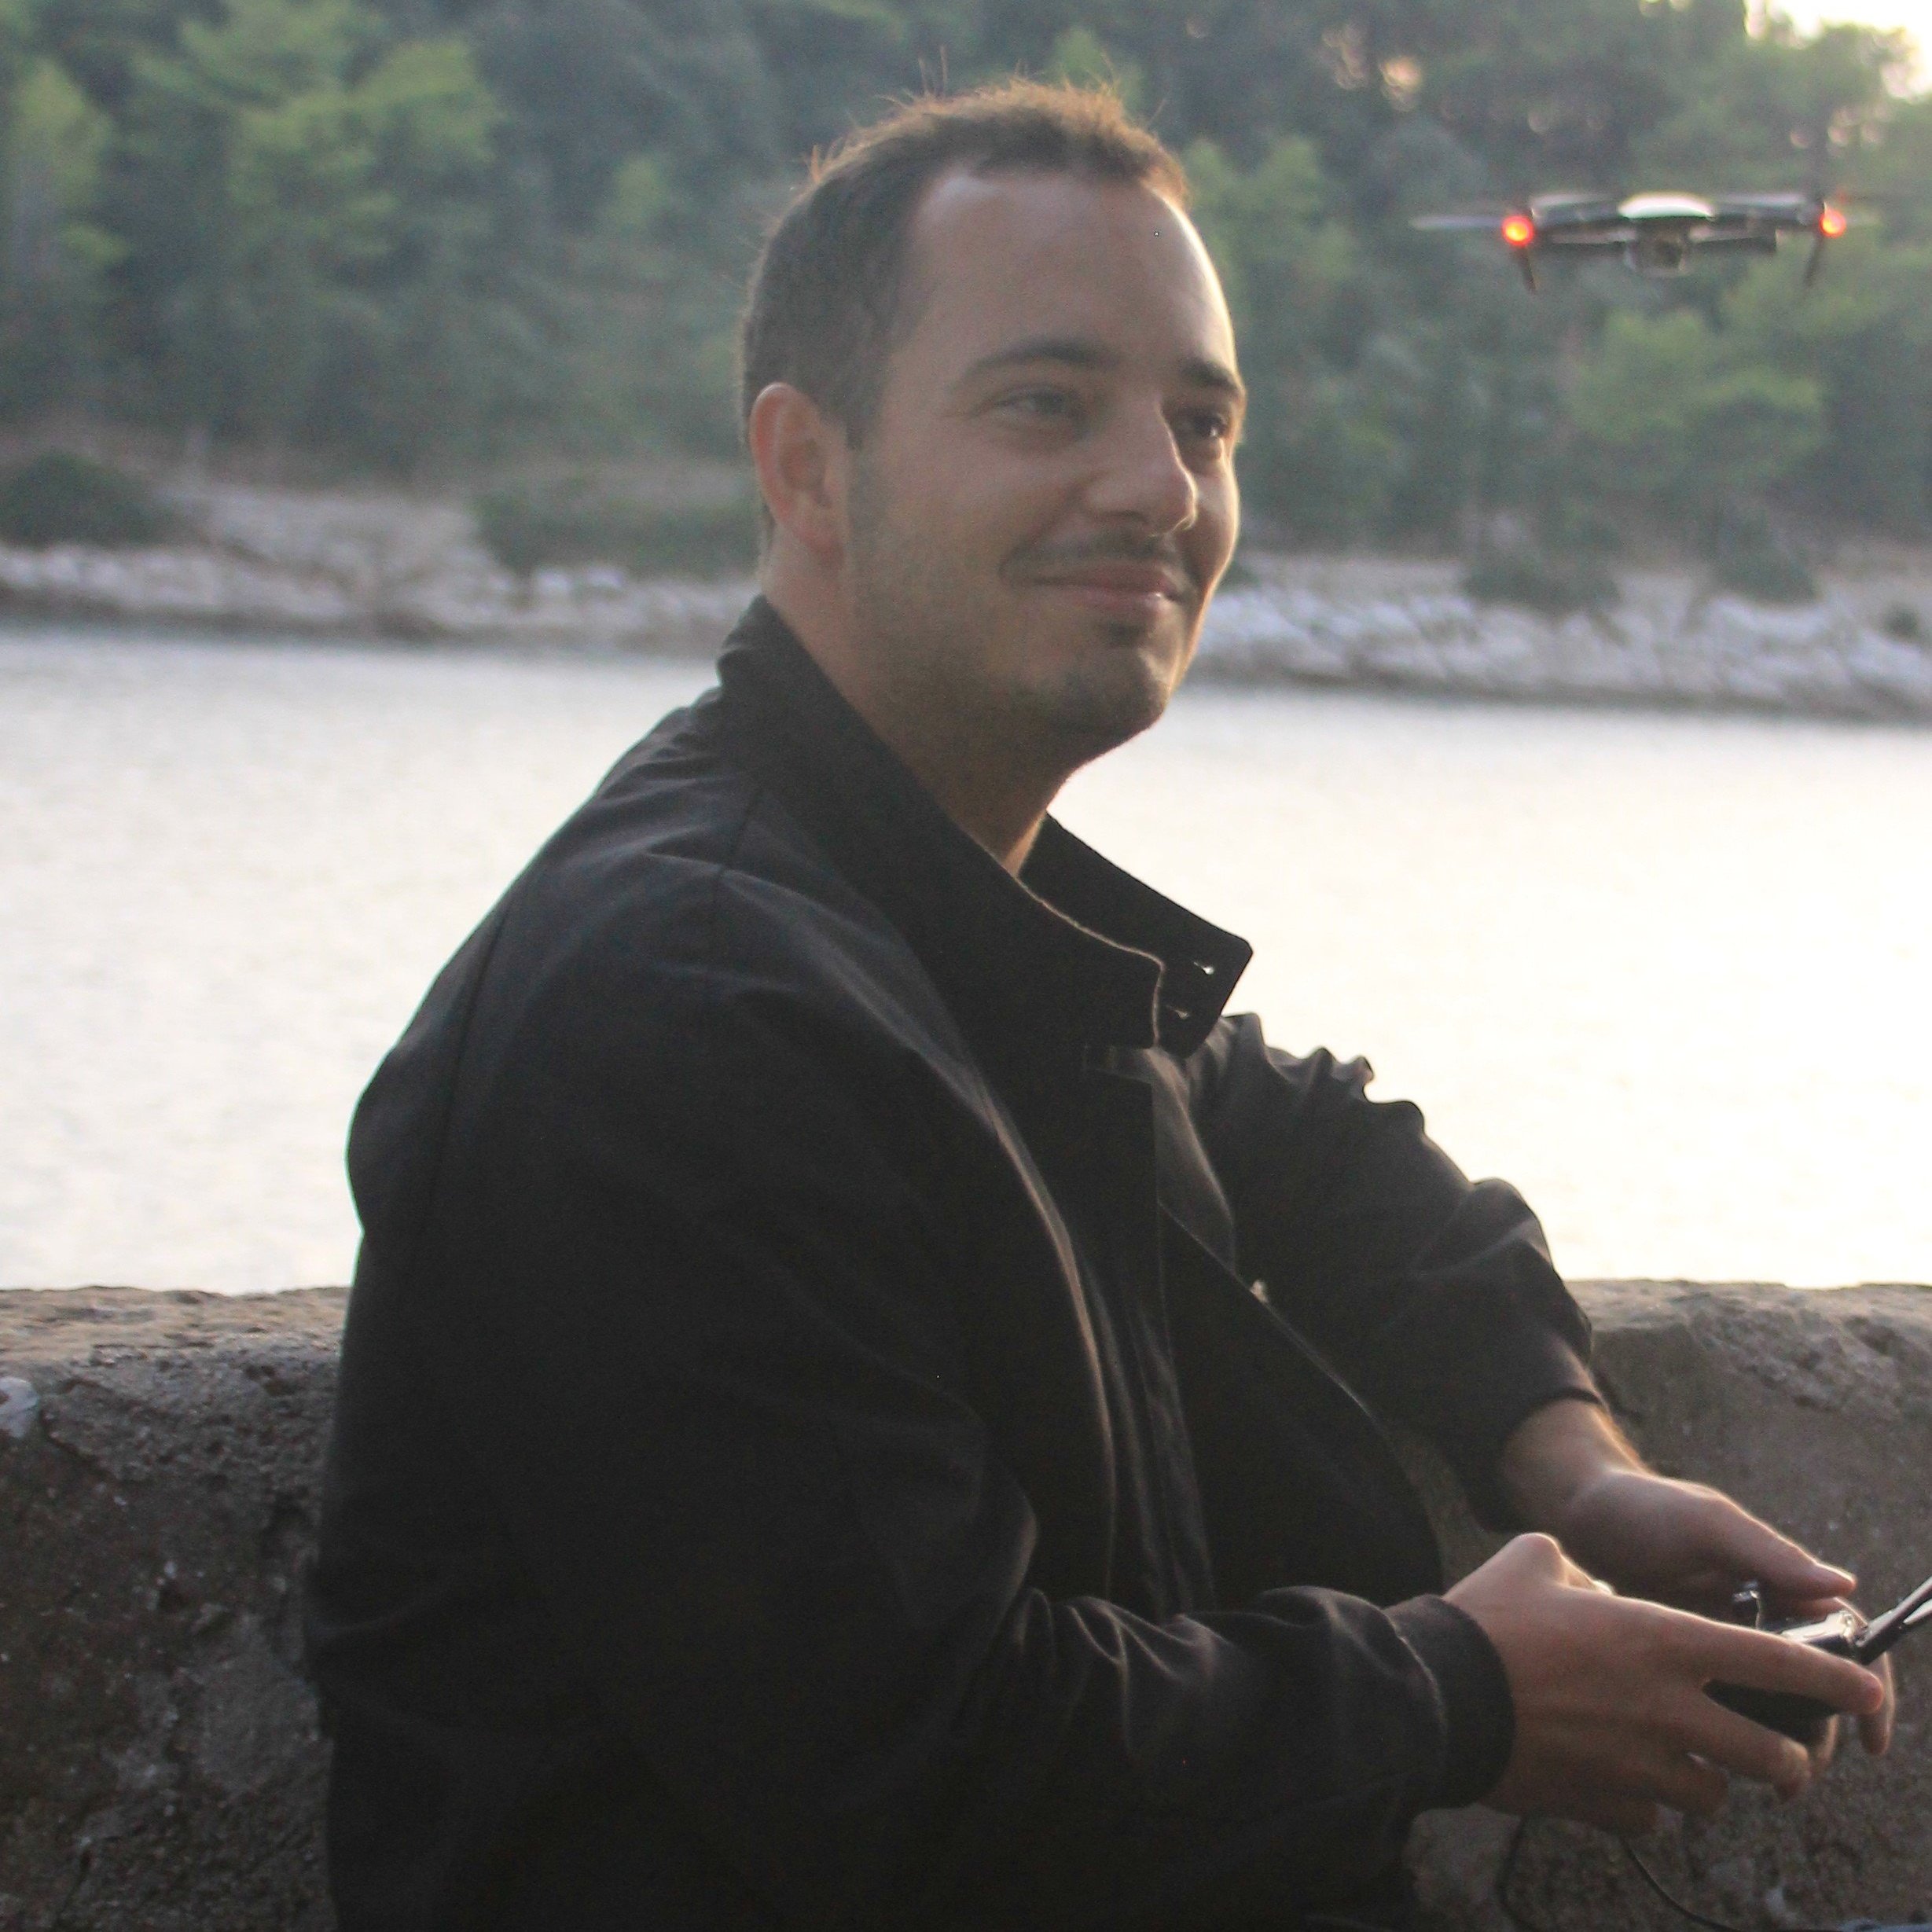
DroneBase Pilot Bill King shared how he prepares for mapping jobs: "Prior to each flight, I monitor the weather and check for flight restrictions to choose the best time to operate. Upon arriving on site, I sign in at the scale-house and check with the crew for any activity to make note of, then I proceed to my launch location while keeping in communication with the crew by CB radio. At the launch location, I inspect the area for any hazards; birds, aircraft, visibility, unexpected weather changes, etc. Once area is deemed clear, I begin setting up my equipment."
In the field
Once you have a drone and a software solution sorted, it's time to fly. First, and as with any drone mission, you need to have a clear understanding of the environment you want to map and any obstacles that might get in your way.
This is even more important when mapping, as some or all of the flight will be conducted autonomously.
You should also aim to fly in consistent conditions while the light is as good as possible. Cloud cover coming and going will have a noticeable impact on your images from above.
For your first few practice runs, consider mapping an area that doesn't have any trees or structures - an open field would be the perfect testing ground. It's also a good idea to keep things small to begin with. Get used to whichever software platform you have chosen; map an area under 1,000 square meters if possible.
"I use the Map Pilot app by MapsMadeEasy," Bill notes. "I check the mission parameters; area to capture, overlap, altitude, and camera settings. With the preflight checklist and crew awareness completed, the operation commences."
Getting familiar with photography basics
As a drone pilot, you should already be in a strong position to harness your photography skills for mapping. No matter which software platform you are using, it's likely that you will need to adjust your camera settings manually before the mapping starts.
So approach the mapping process in the same way that you would any other shoot. Check your histogram, adjust the shutter speed accordingly, and make changes to your ISO and white balance to get the most consistent and crisp images possible.
Thinking about altitude
The altitude you choose to fly your mapping mission at will have an impact on both the mission itself and the end result. The higher the drone is, the lower the resolution of the photos and the poorer the quality of the final product. However, it goes without saying that mapping from a greater height will result in fewer images being taken, less time spent in the air and a lower risk of exposure to adverse weather conditions.
Bill notes, "occasionally I may need to manually fly to collect missed images to ensure overlap coverage or correction of a glitch". So, choosing the right altitude is a delicate balancing act. If you want to speed up the process by flying higher without sacrificing too much in terms of accuracy, consider using ground control points or increasing the overlap between images.
Review your images, there and then
As with any drone project, it's a good idea to view the results of your flight as soon as possible. There are some accessories that might come in handy for that part, such as DJI's CrystalSky monitor.
Taking a look through your images for issues or inconsistencies can help you avoid needing to return and do the job again another day.
Looking for other ways to develop as a drone pilot? Check out our recent blog post on the coming spring inspection season.


.jpg?width=360&name=Banner%20Templates%20(7).jpg)
